Automated Transfer
This tutorial will guide you through deploying and running your first payscript which will make a transaction between two customer accounts. We will use the Sandbox environment to deploy a script, create an automation and run it.
Prerequisites:
- Have a Sandbox account
The script
Please take a look at the script we will use:
trigger = "on_demand";


def payer  = ${payer:scan};
def payee = ${payee:scan};
def amount = ${amount:decimal};

def payment = PaymentInfo.builder()
        .payer(AccountInfo.builder()
                .type(AccountIdentifierType.SCAN)
                .identifier(payer)
                .build())
        .payee(AccountInfo.builder()
                .type(AccountIdentifierType.SCAN)
                .identifier(payee)
                .build())
        .amountInfo(AmountInfo.builder()
                .currency(CurrencyEnum.GBP)
                .amount(amount)
                .build())
        .paymentReference("Automated transfer")
        .build();

def newPaymentId = createPayment(payment);
On the first line, we define the trigger type; “on_demand” will allow us to run the automation with the click of a button. In the next block, the syntax ${name:type} defines the parameters that will be used in the script, which in this case are the SCAN of the payer and the payee, as well as the amount to be payed. Next up is the logic. We use the builder pattern to construct the data structure of the Payment using the parameters, and then we create the payment with that data on the last line.
Deployment
In order for the customers to create automations, the script must be deployed first. To do this, log in to the Sandbox environment and navigate to the developer tab.
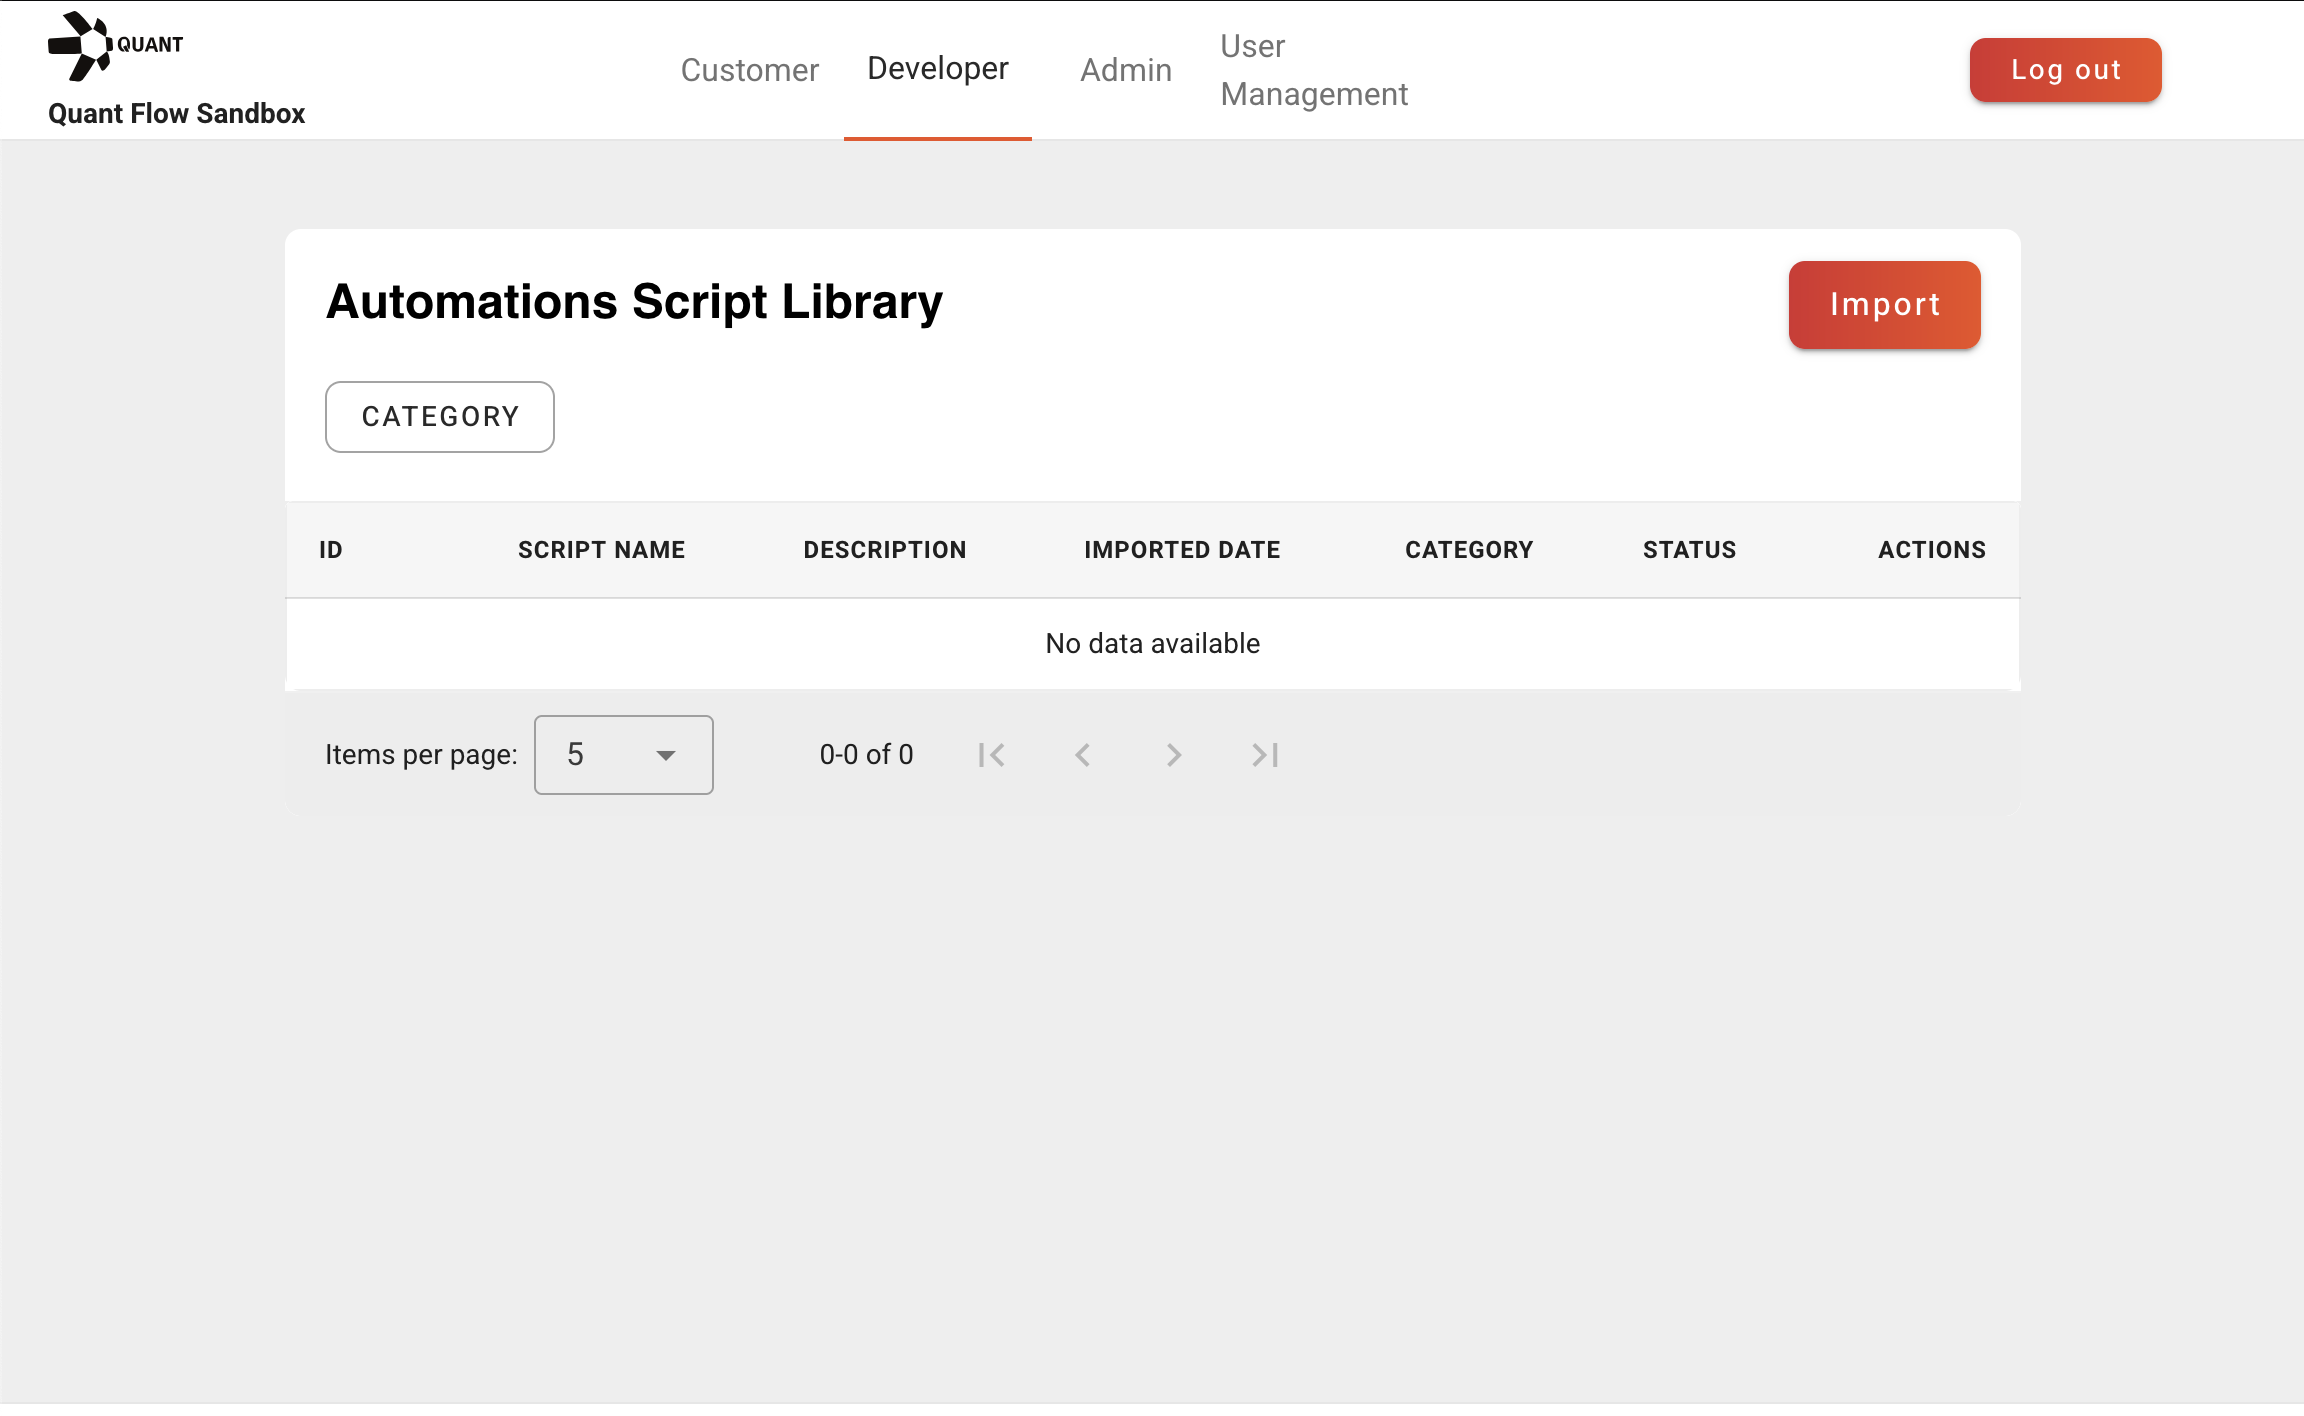
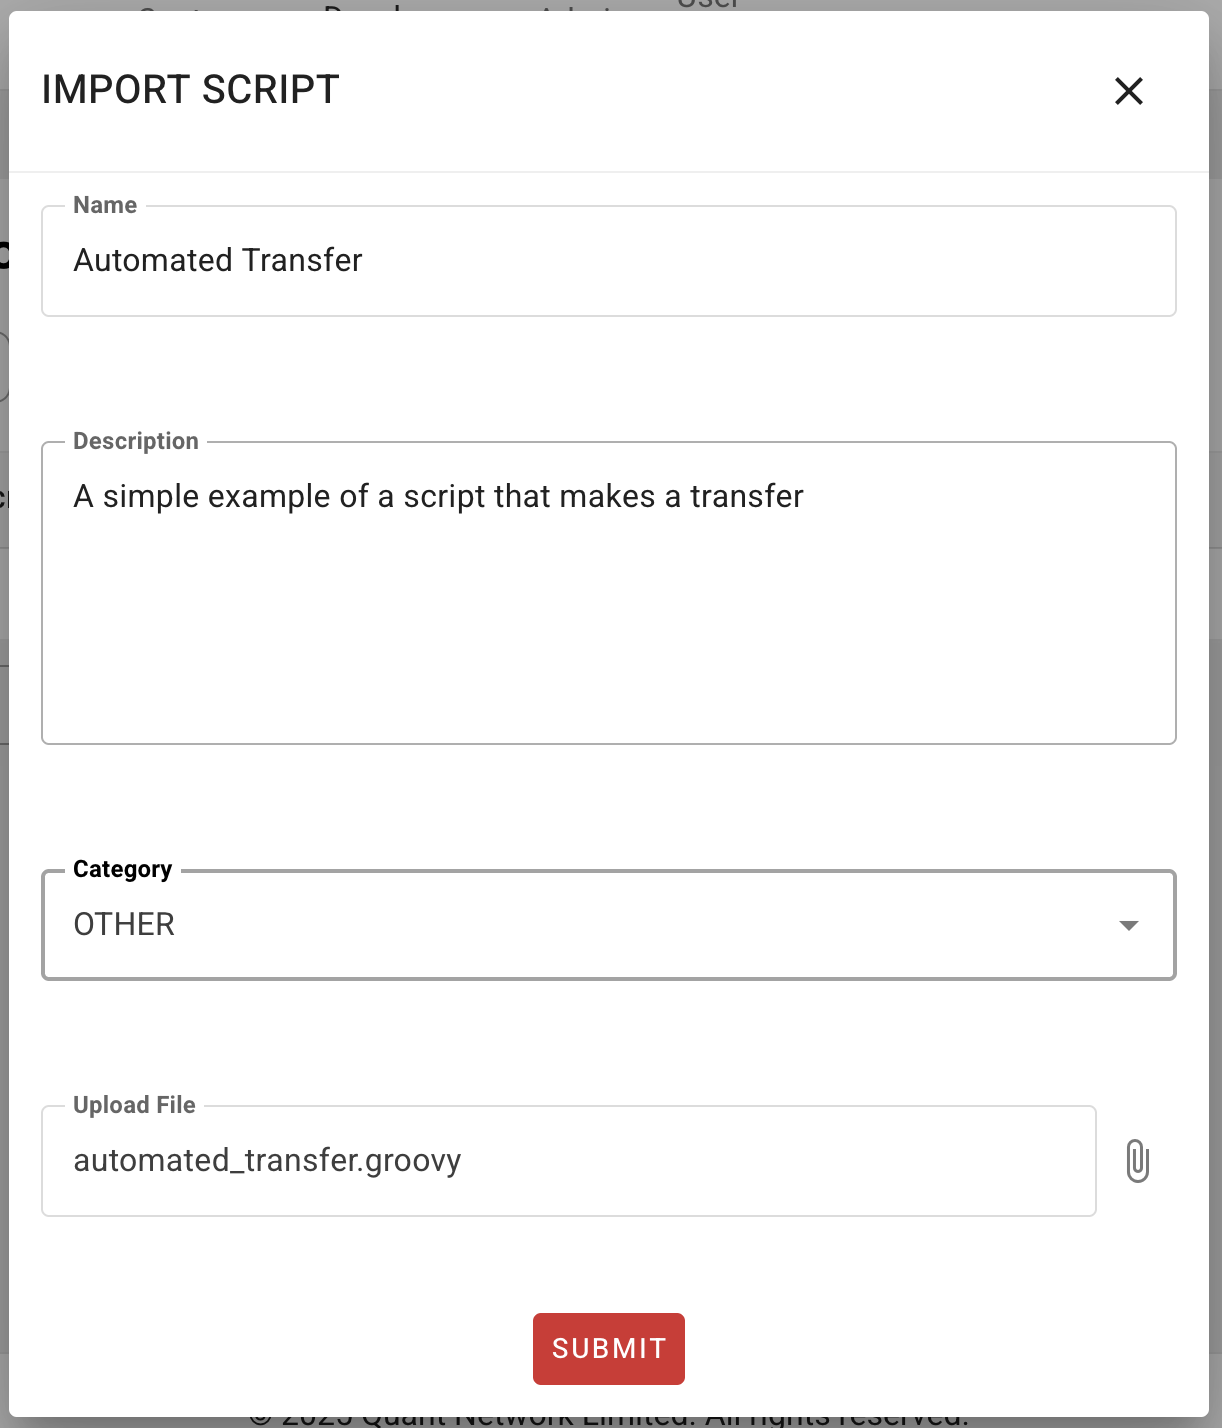
Click the Import Button and fill in the information for the script you are deploying:
- Name and Description: The name and description of the script as will be seen by customers.
- Category: a purely organizational category for the script
- Upload file: select the file you created in the previous step.
After uploading, your script should appear in the list. The Actions column has the green rocket button. Click that one to deploy the script, and make it available for customers.
This ends the work necessary from a developer’s perspective.
Creating an automation
From now on we will be using the system as a customer; select the customer view from the top tab, and choose a customer to “log in” as.
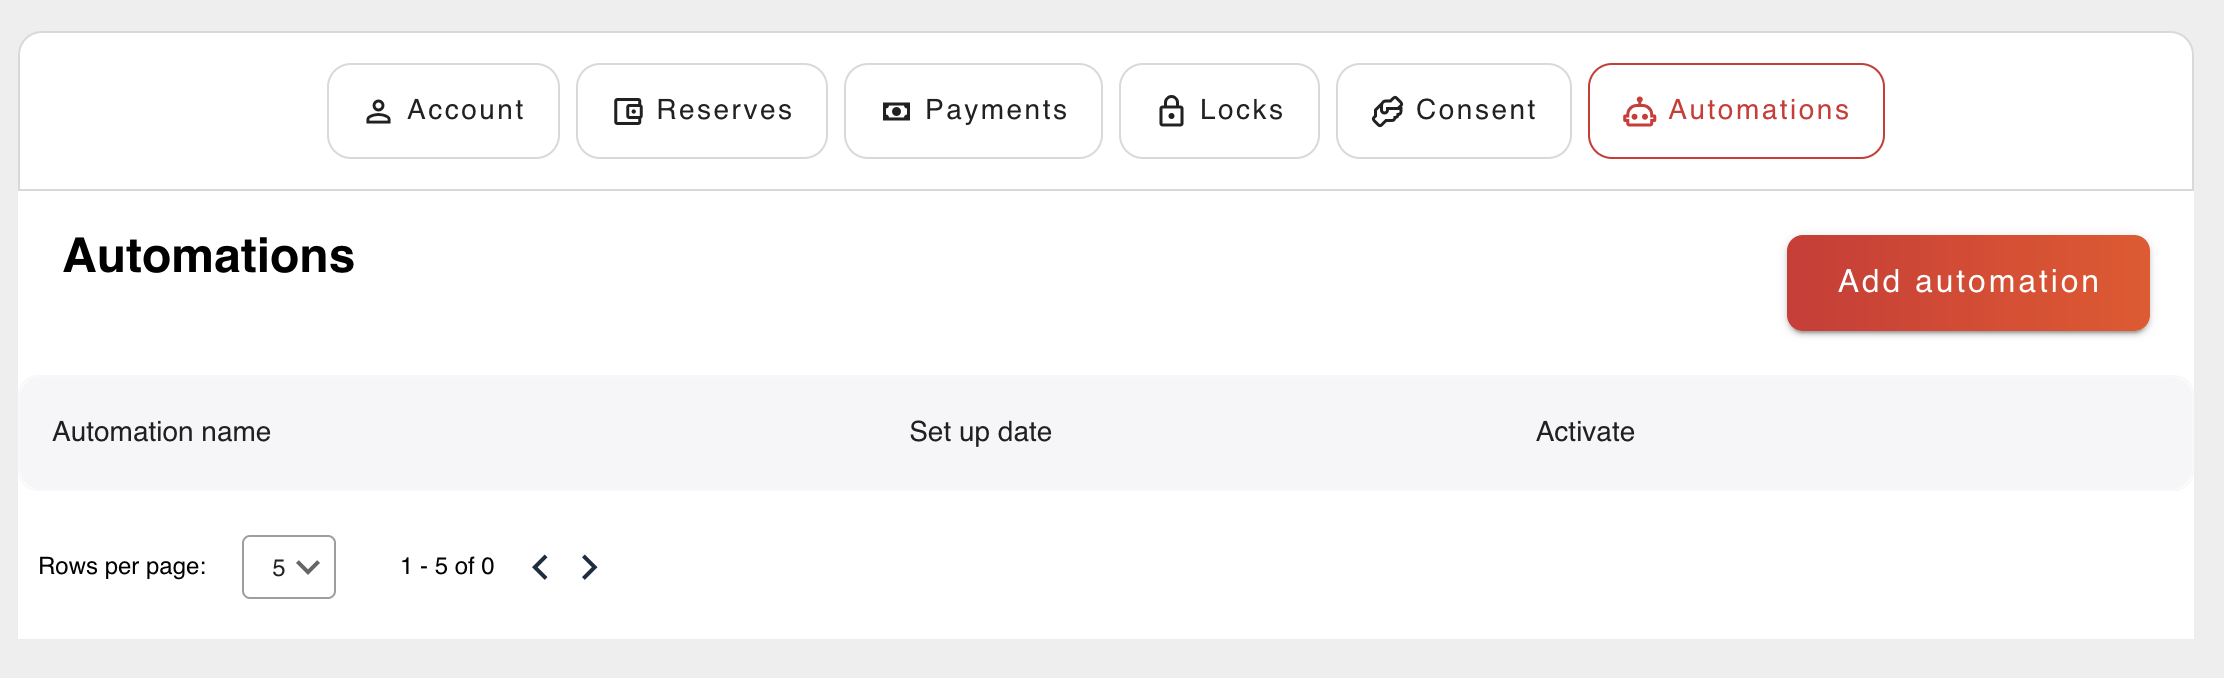
Go to the Automations tab and click the button to create a new automation.
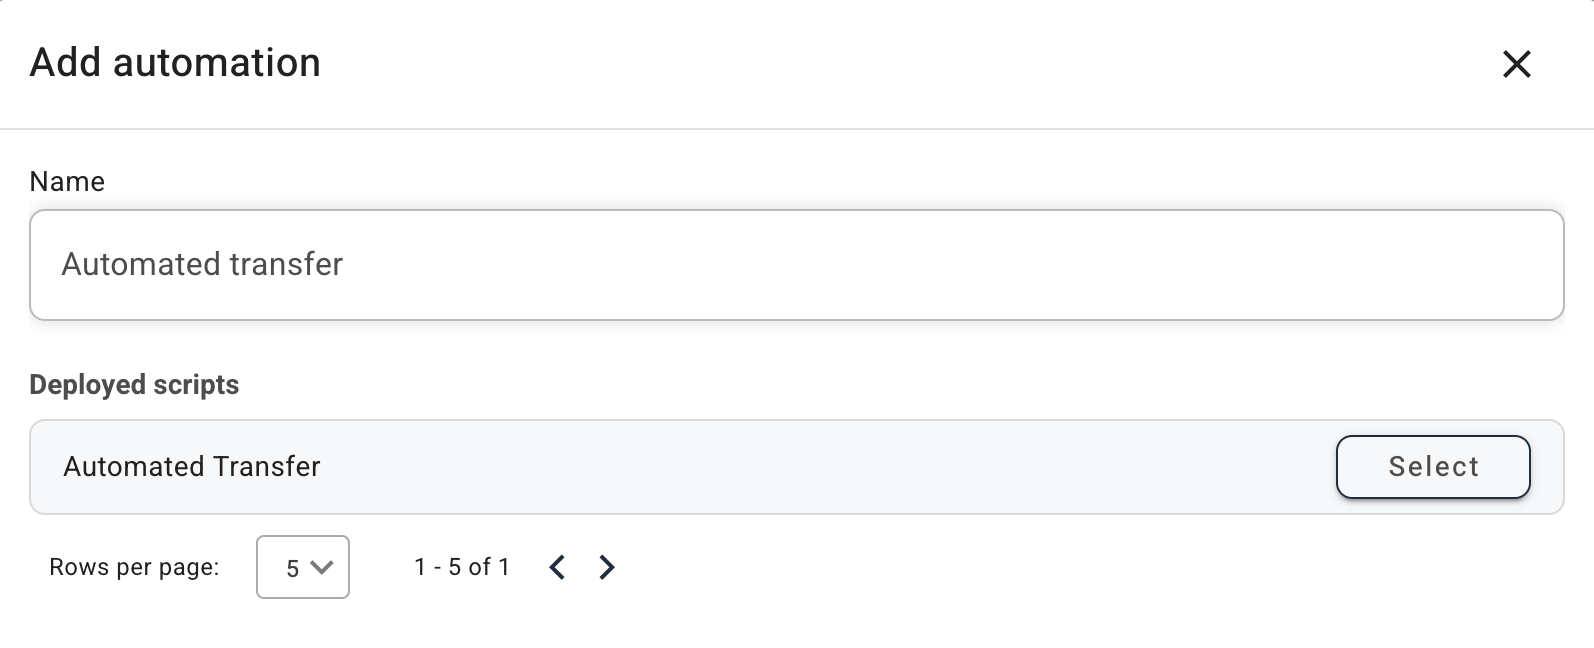
Choose a name for this automation, that makes sense to the customer who owns it. Select which script will be used in this automation, which in this case should be the script we deployed in previous steps. (If you don’t see it here, you probably forgot to click the deploy button in the developer view.) Check the box to activate it.
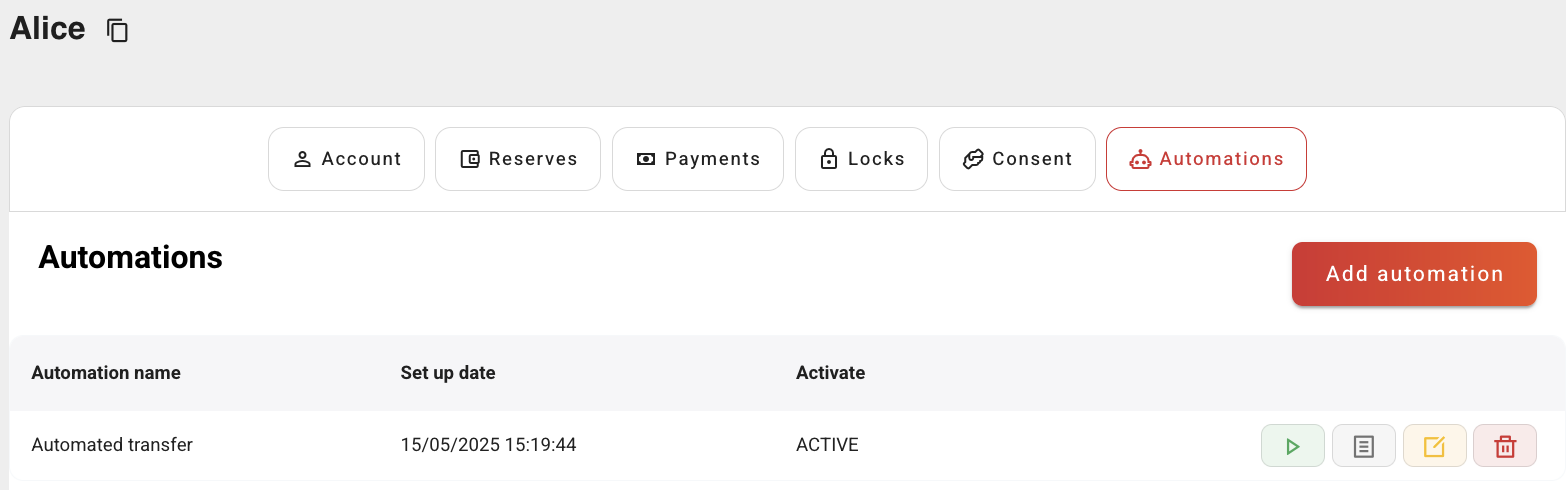
Run the automation
Because the automation we just deployed uses a script with an “on_demand” trigger, we can run it in the Automations tab in the customer’s account, by clicking on the green triangle button.
Success!
With this basic example you were able to deploy a payscript in the Sandbox and understand how it can be used by a customer, giving you a broad idea of all the possibilities. In the next tutorial we will introduce the concept of consent, which will be necessary to perform actions on behalf of a different customer such as making a transfer or checking their balance.